Connect AI Squared to Qdrant
This guide will help you configure the Qdrant Connector in AI Squared to access and transfer data to your Qdrant collection.Prerequisites
Before proceeding, ensure you have your API url and API key.Step-by-Step Guide to Connect to your Qdrant collection
Step 1: Navigate to Qdrant
Start by logging into your Qdrant account.- Sign in to your Qdrant account at Qdrant Account
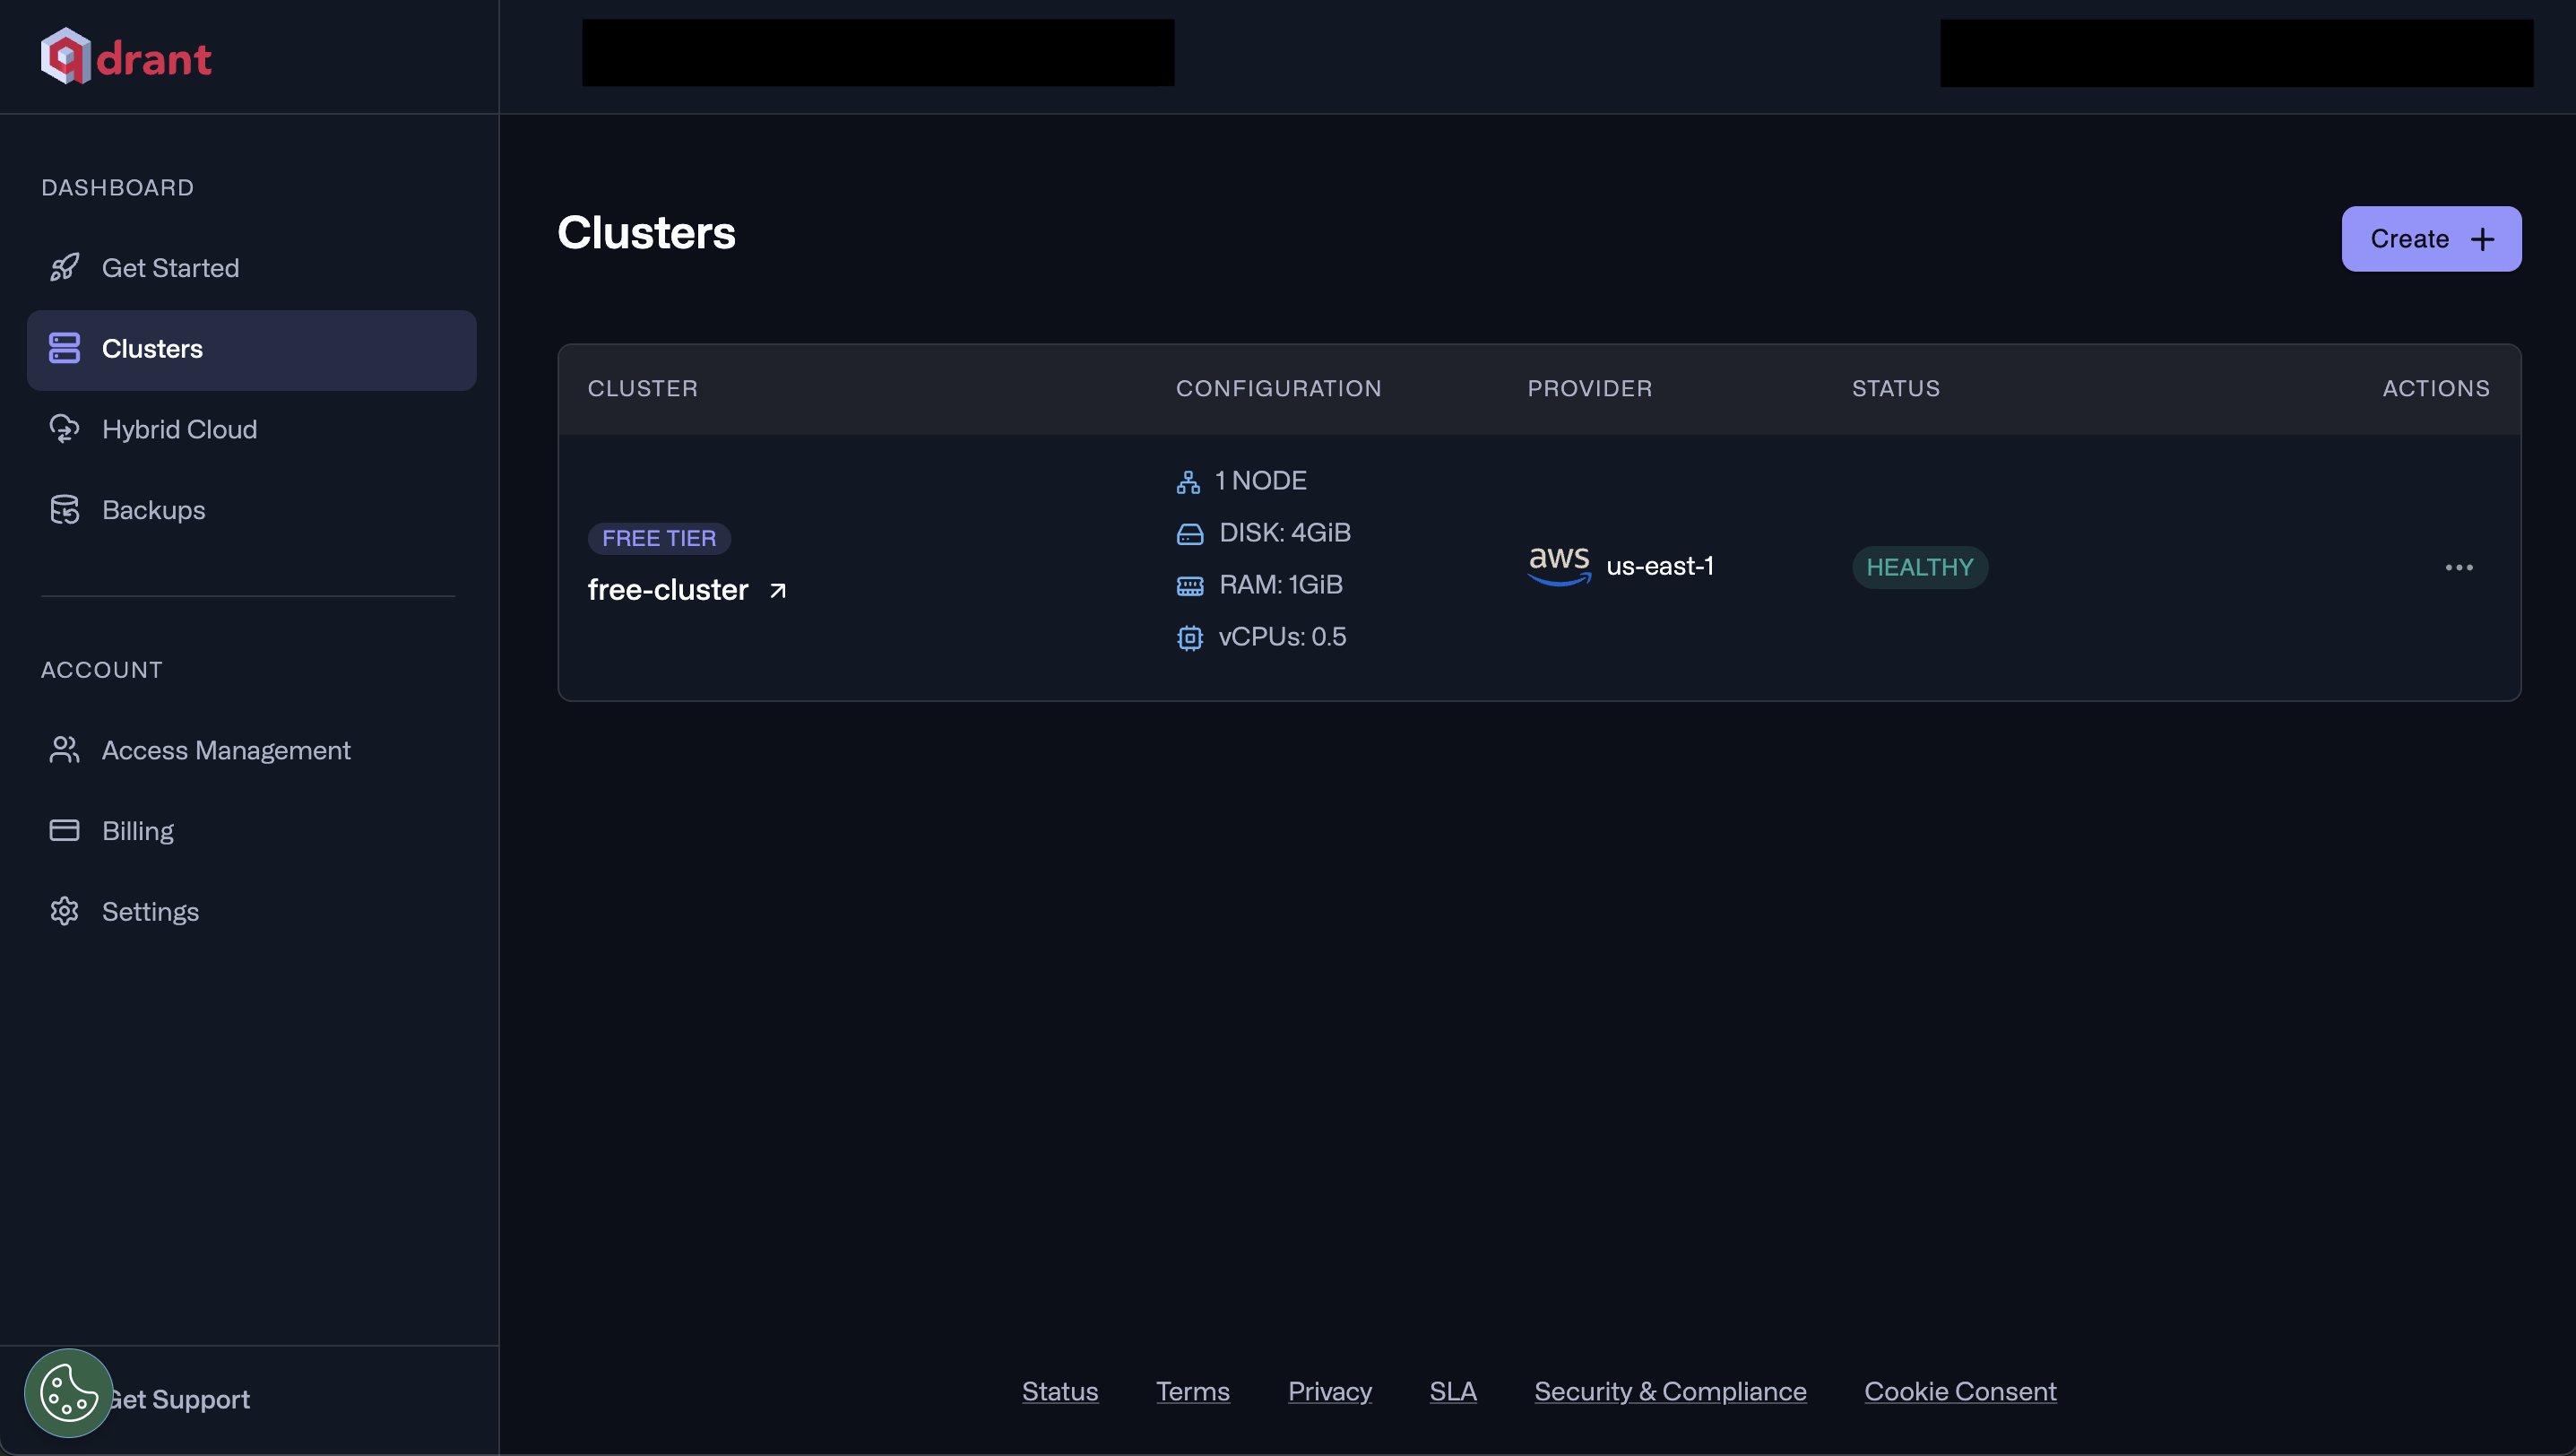
- Select Clusters from the side bar.
- Select your cluster to see more details.
Step 2: Locate Qdrant Configuration Details
Once in your Qdrant cluster, you’ll find the necessary configuration details: API Url:- Click on the Overview tab, and scroll down to the Use the API section.
- Copy the Endpoint URL (API Url).
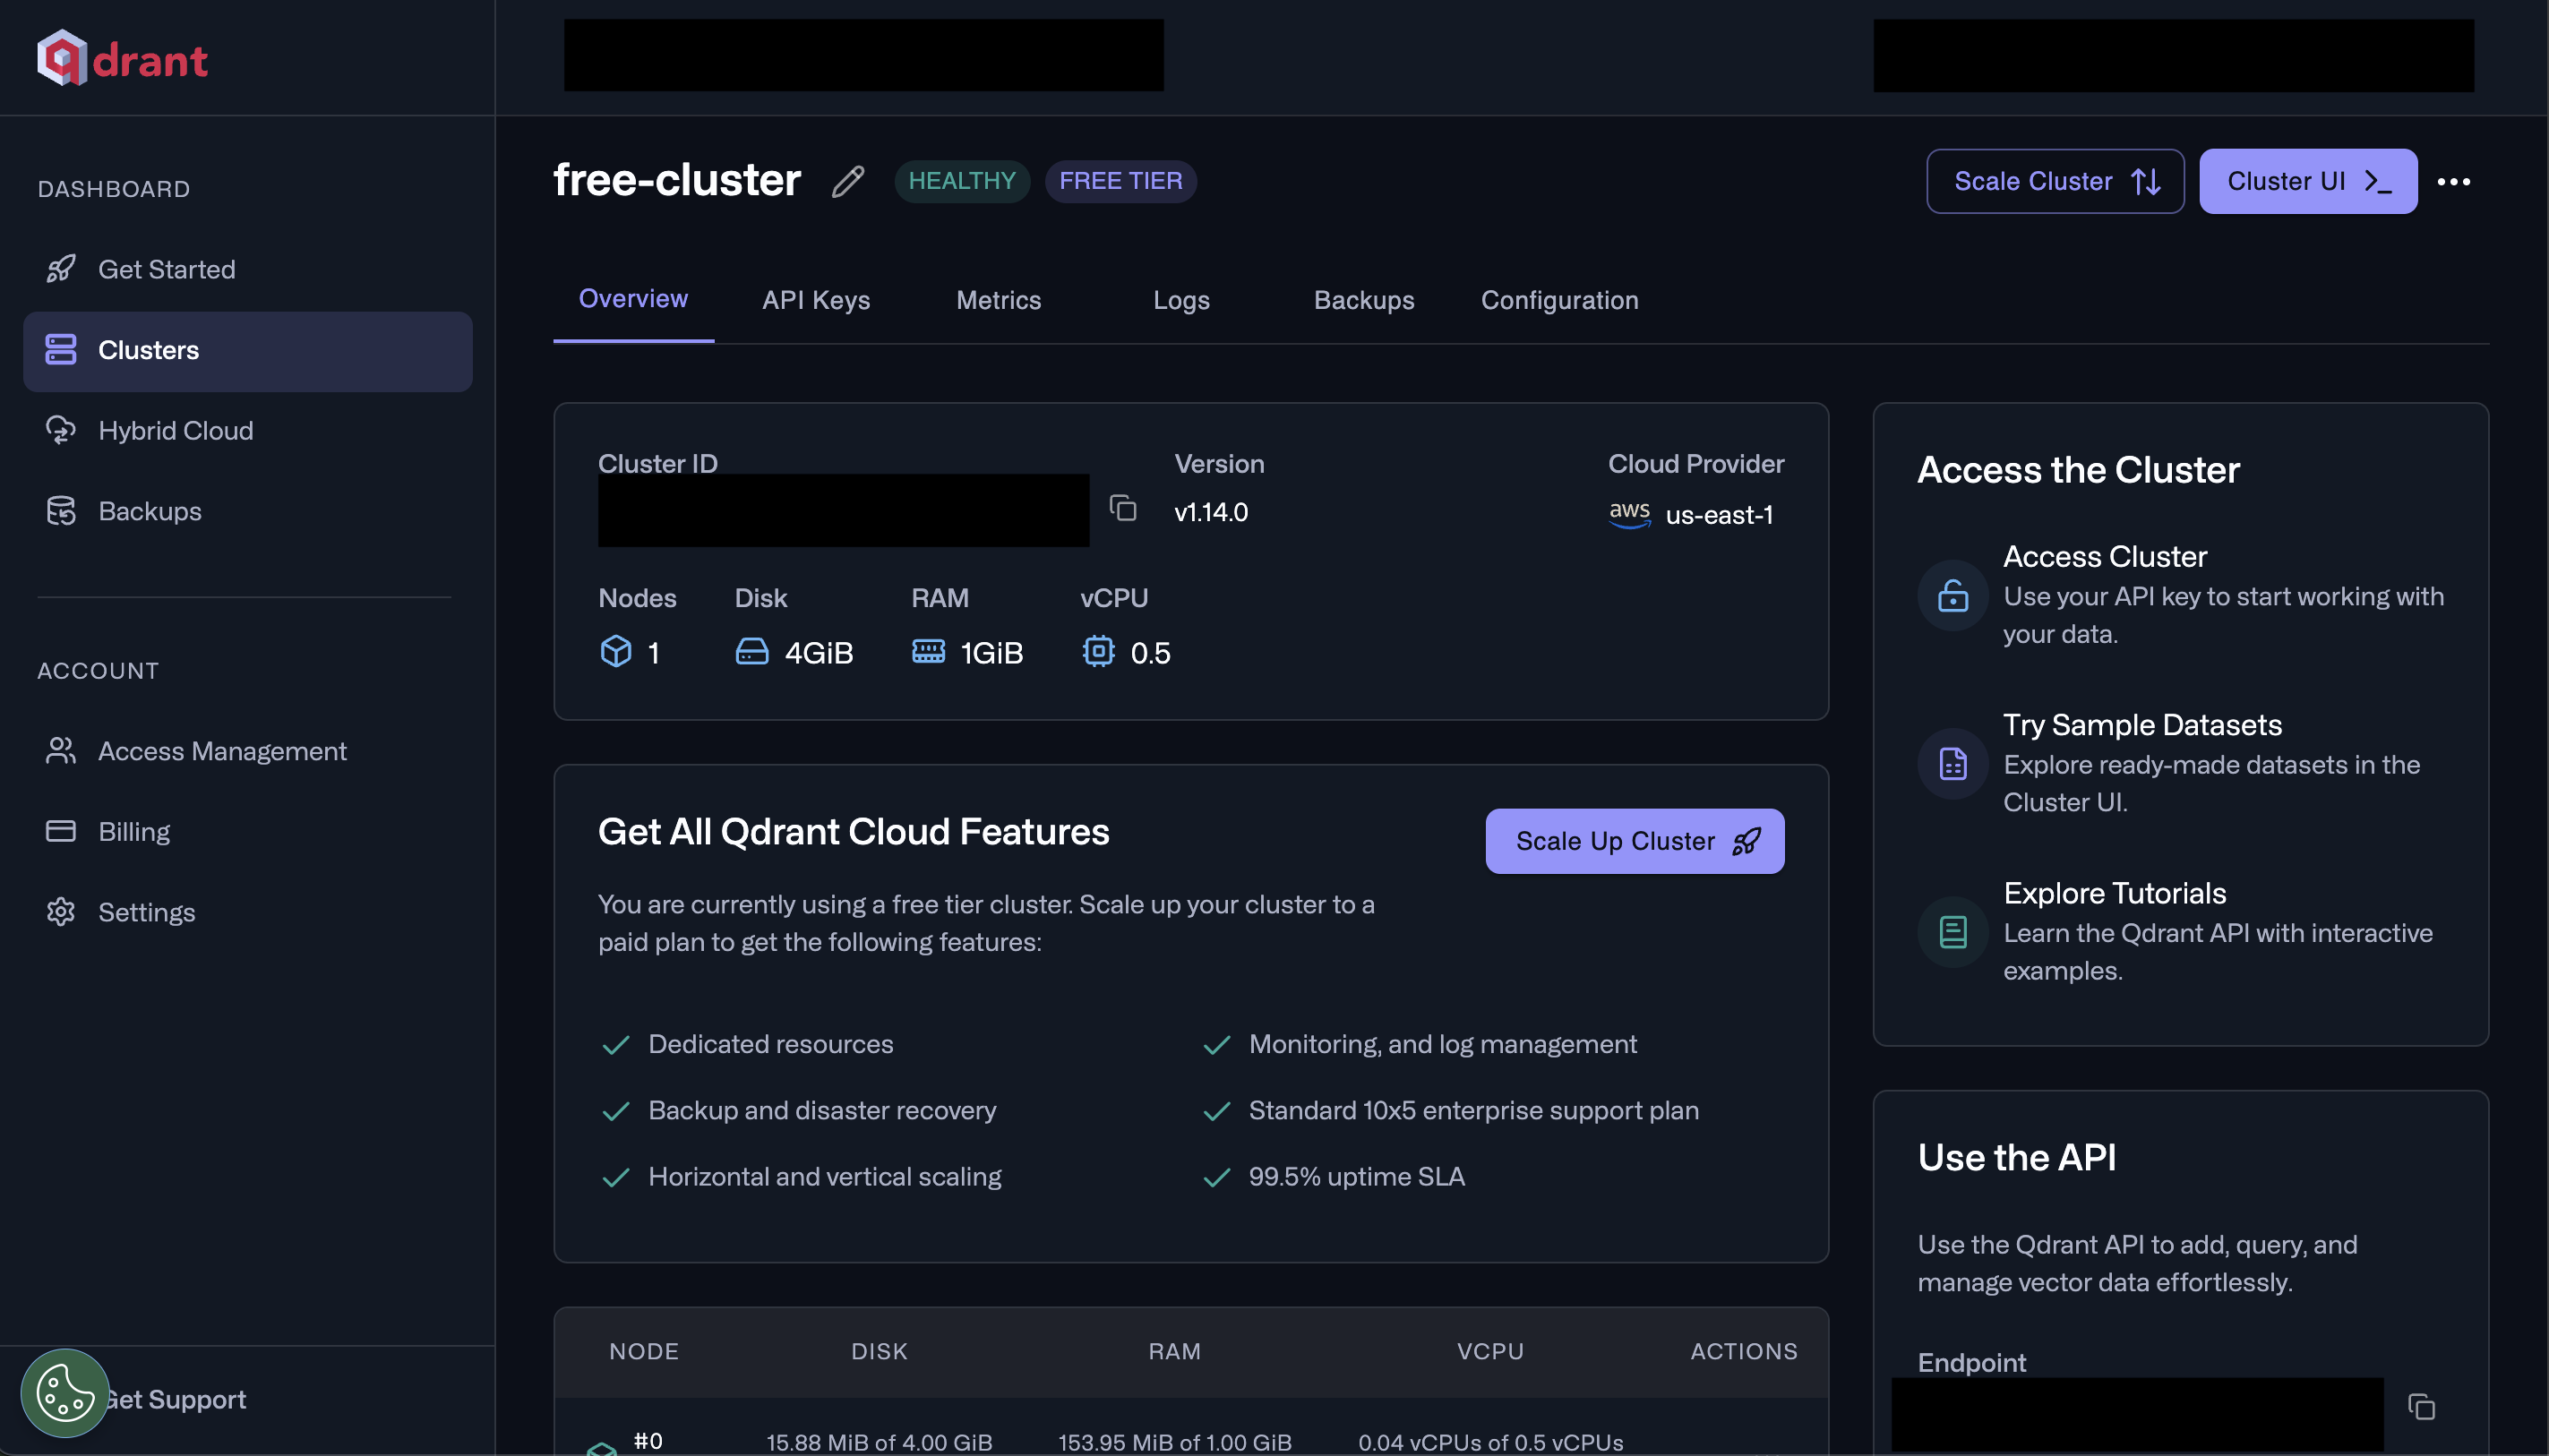
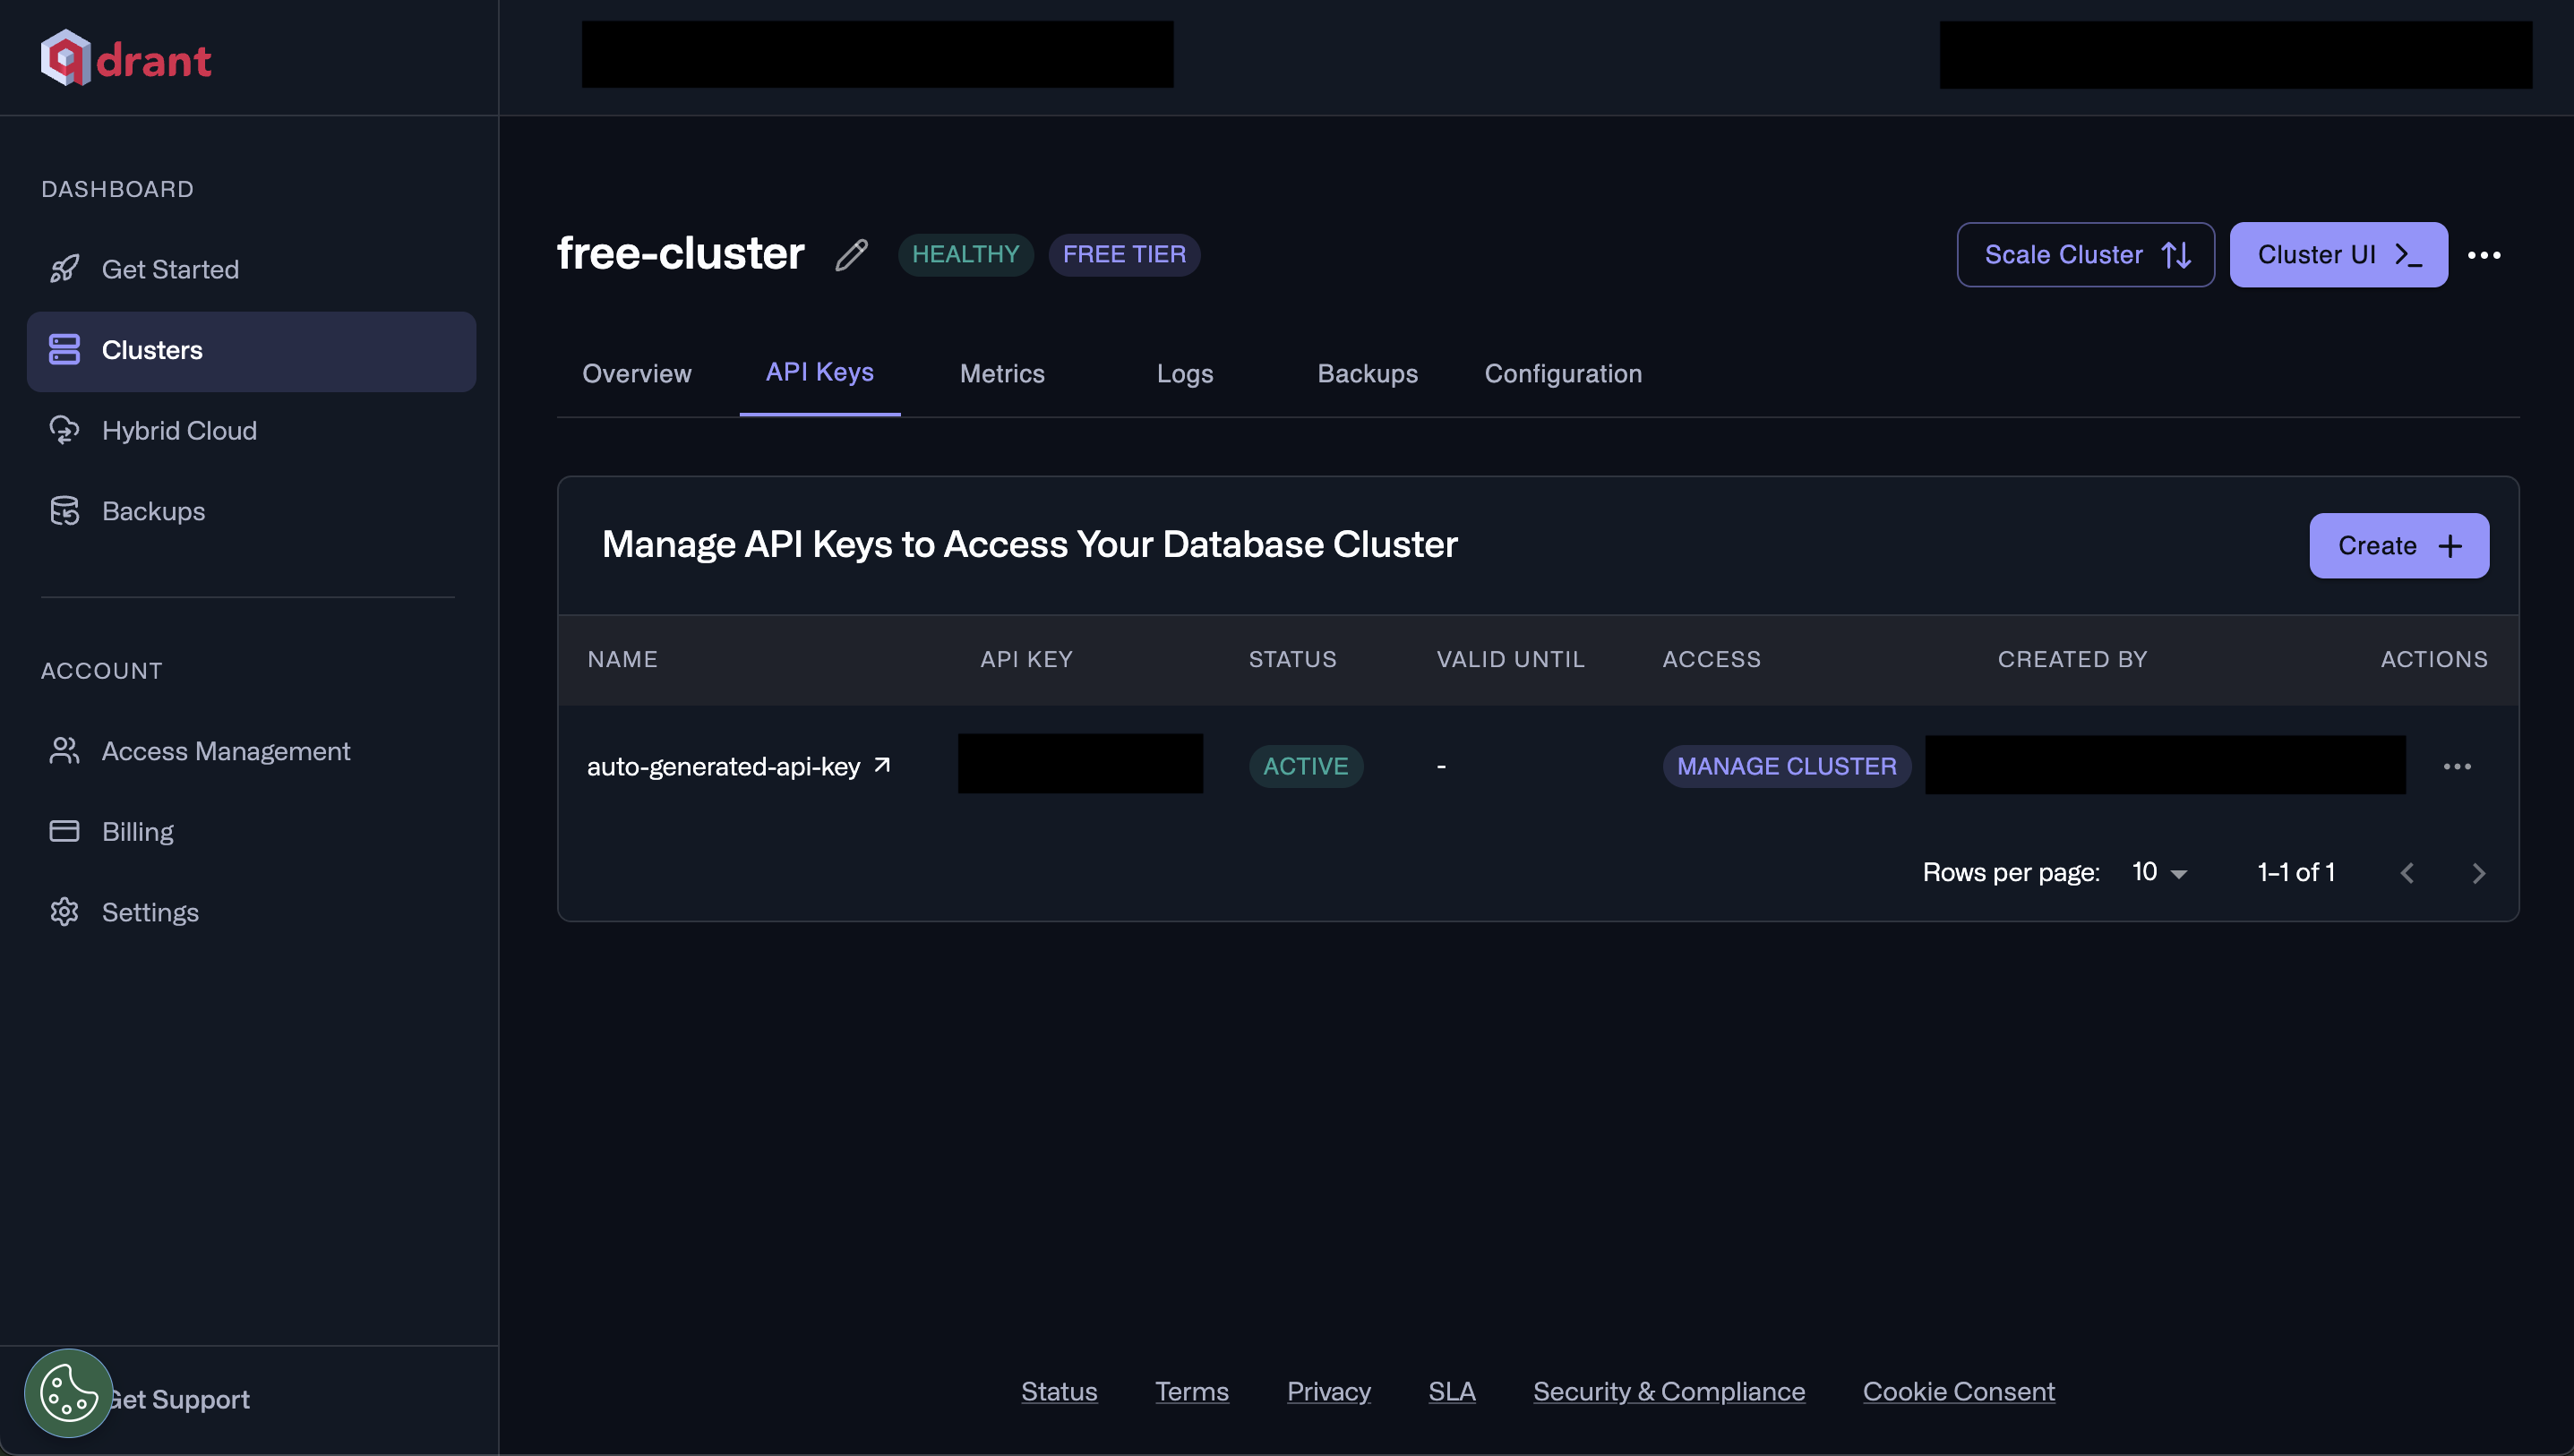
- Click on the API Keys tab.
- If you haven’t created an API key before, click on “Create” to generate a new one. Make sure to copy the API Key as they are shown only once.
Step 3: Configure qdrant Connector in Your Application
Now that you have gathered all the necessary details, enter the following information in your application:- API Key: The authentication key used to access your Qdrant cluster.
- API Url: The endpoint where your Qdrant cluster is hosted.
Step 4: Test the Qdrant Connection
After configuring the connector in your application:- Save the configuration settings.
- Test the connection to Qdrant from your application to ensure everything is set up correctly.
Supported sync modes
| Mode | Supported (Yes/No/Coming soon) |
|---|---|
| Incremental sync | YES |
| Full refresh | Coming soon |