Step 1: Navigate to Data Sources
- Go to Sources → Data Sources in the left sidebar.
- Click “Add Source”.
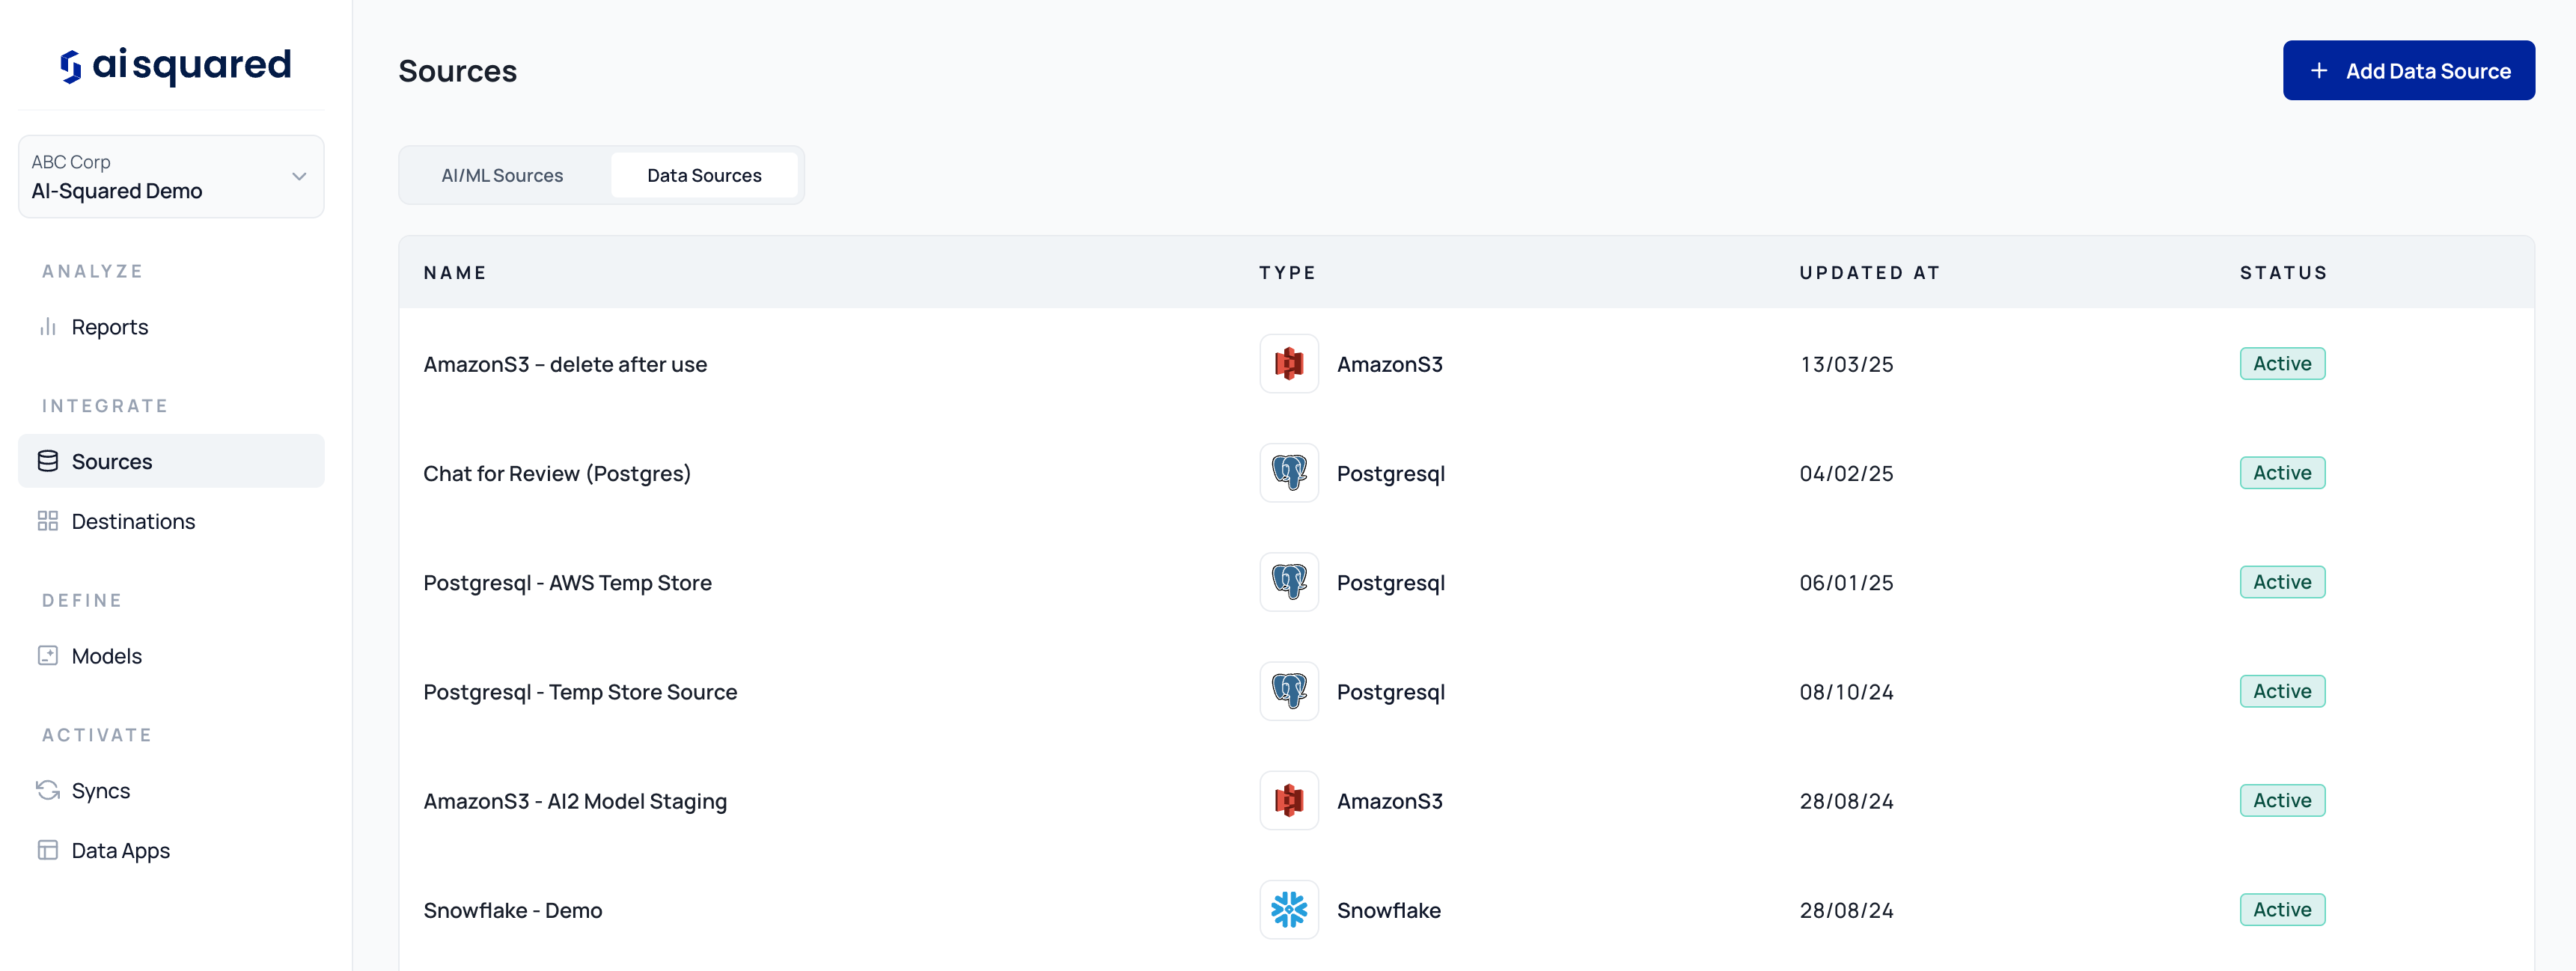
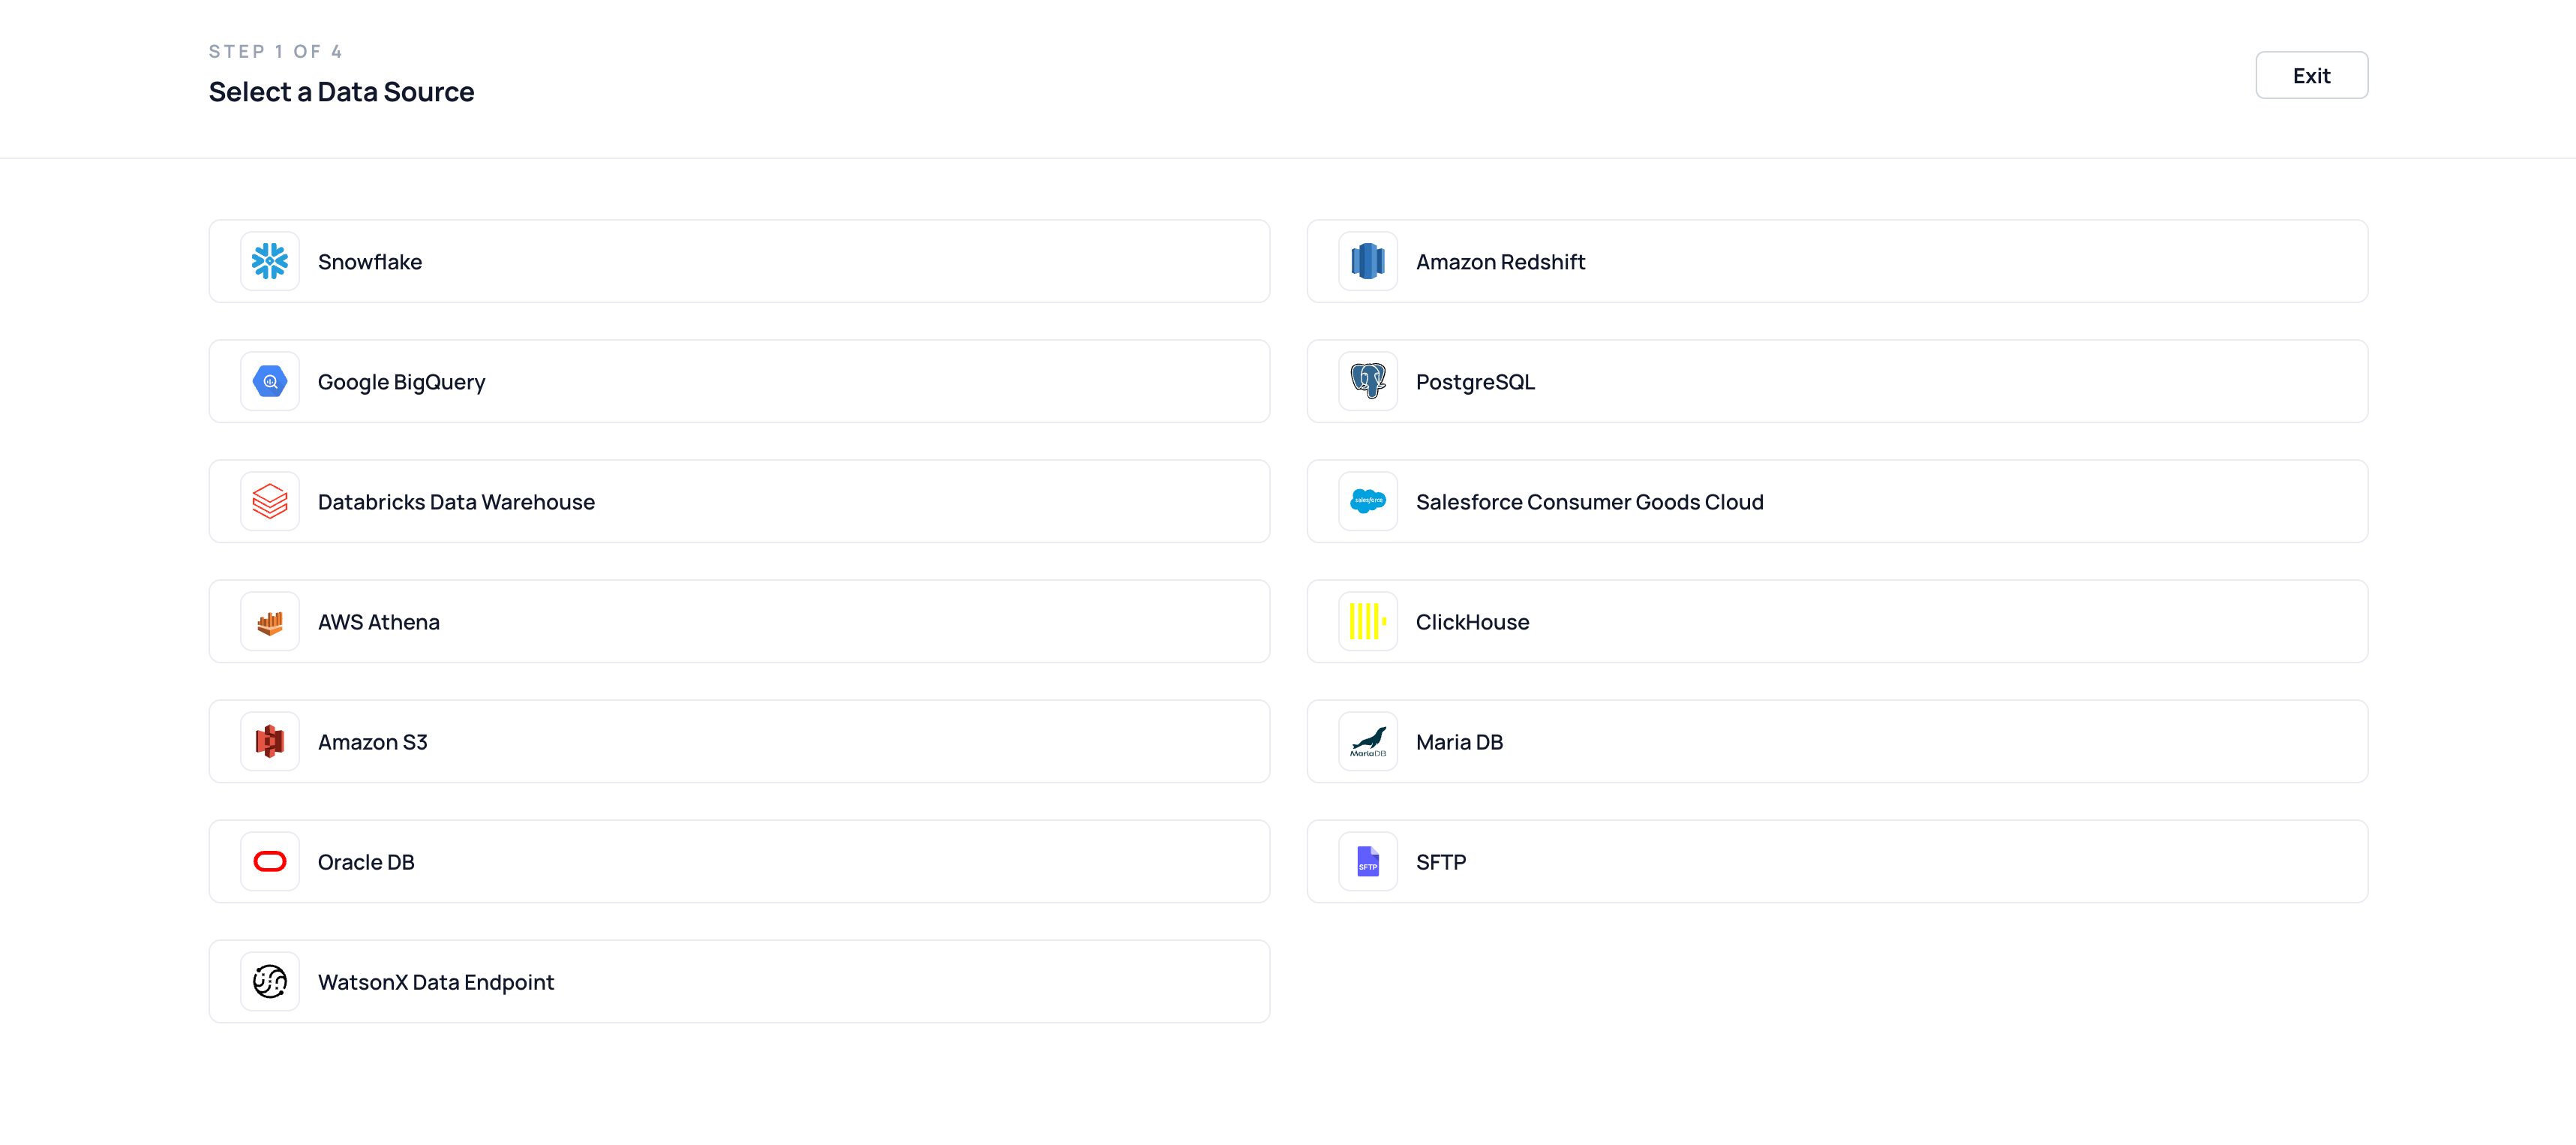
- Select your connector from the available list (e.g., Snowflake, BigQuery, PostgreSQL, etc.).
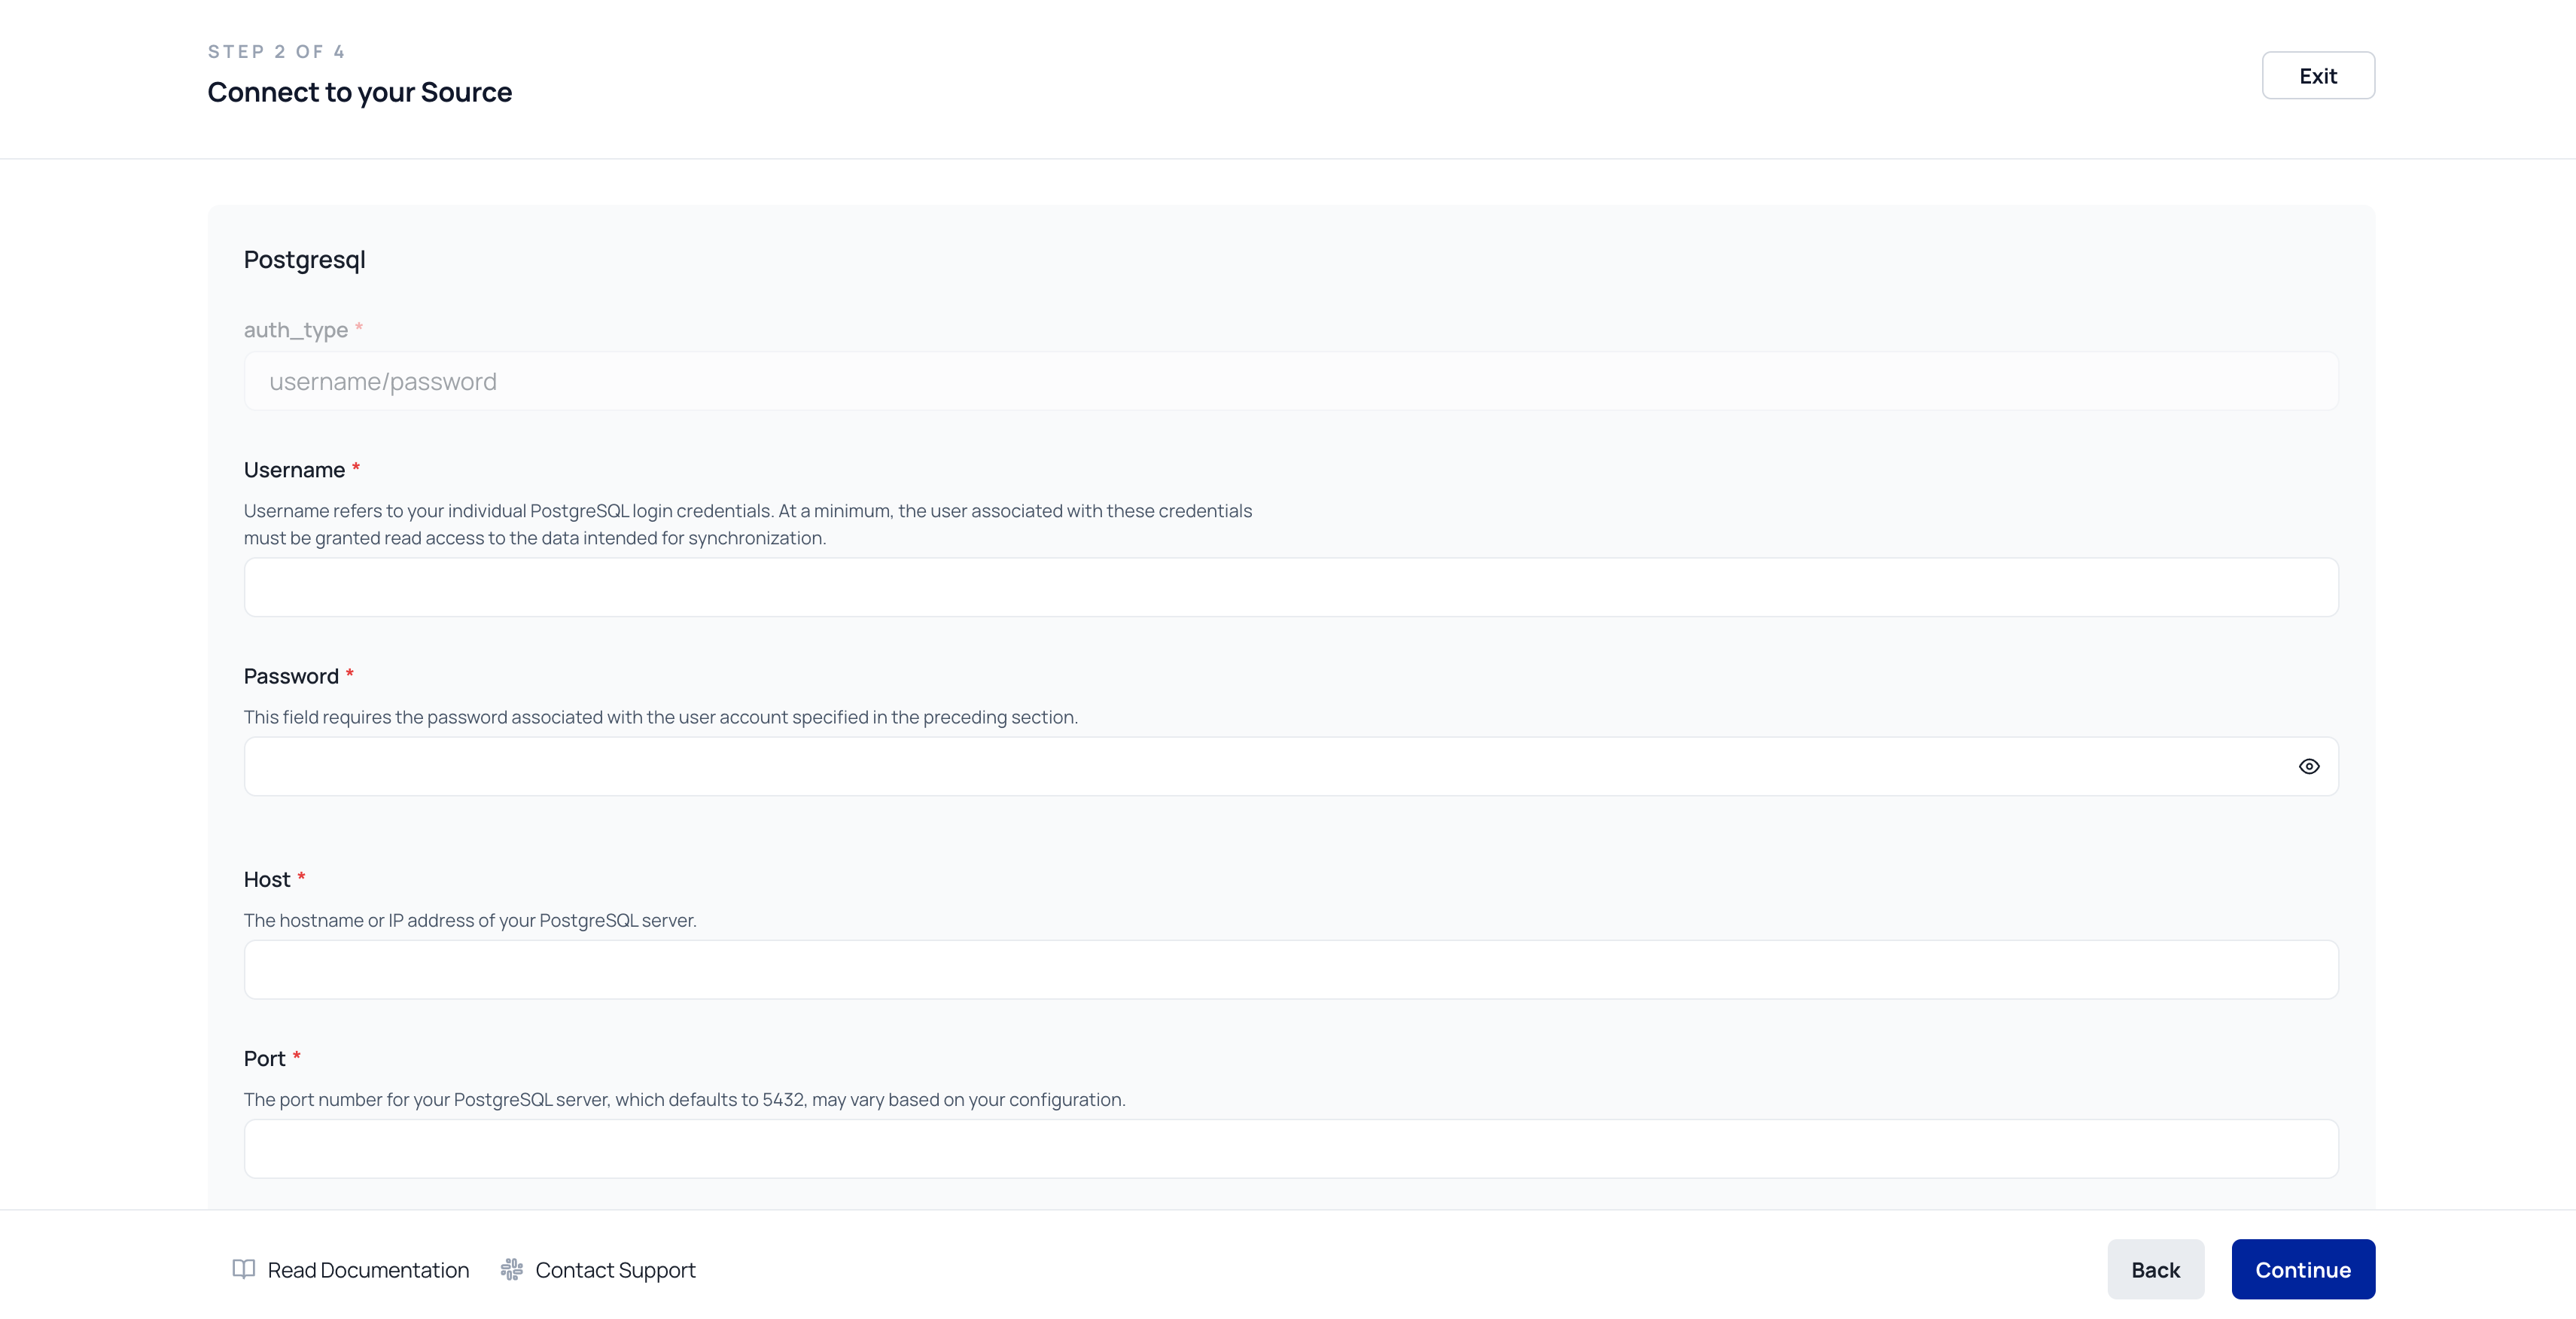
Step 2: Provide Connection Details
Each data source requires standard connection credentials. These typically include:- Source Name – A descriptive label for your reference.
- Host / Server URL – Address of the database or data warehouse.
- Port Number – Default or custom port for the connection.
- Database Name – The name of the DB you want to access.
- Authentication Type – Options like password-based, token, or OAuth.
- Username & Password / Token – Credentials for access.
- Schema (if applicable) – Filter down to the relevant DB schema.
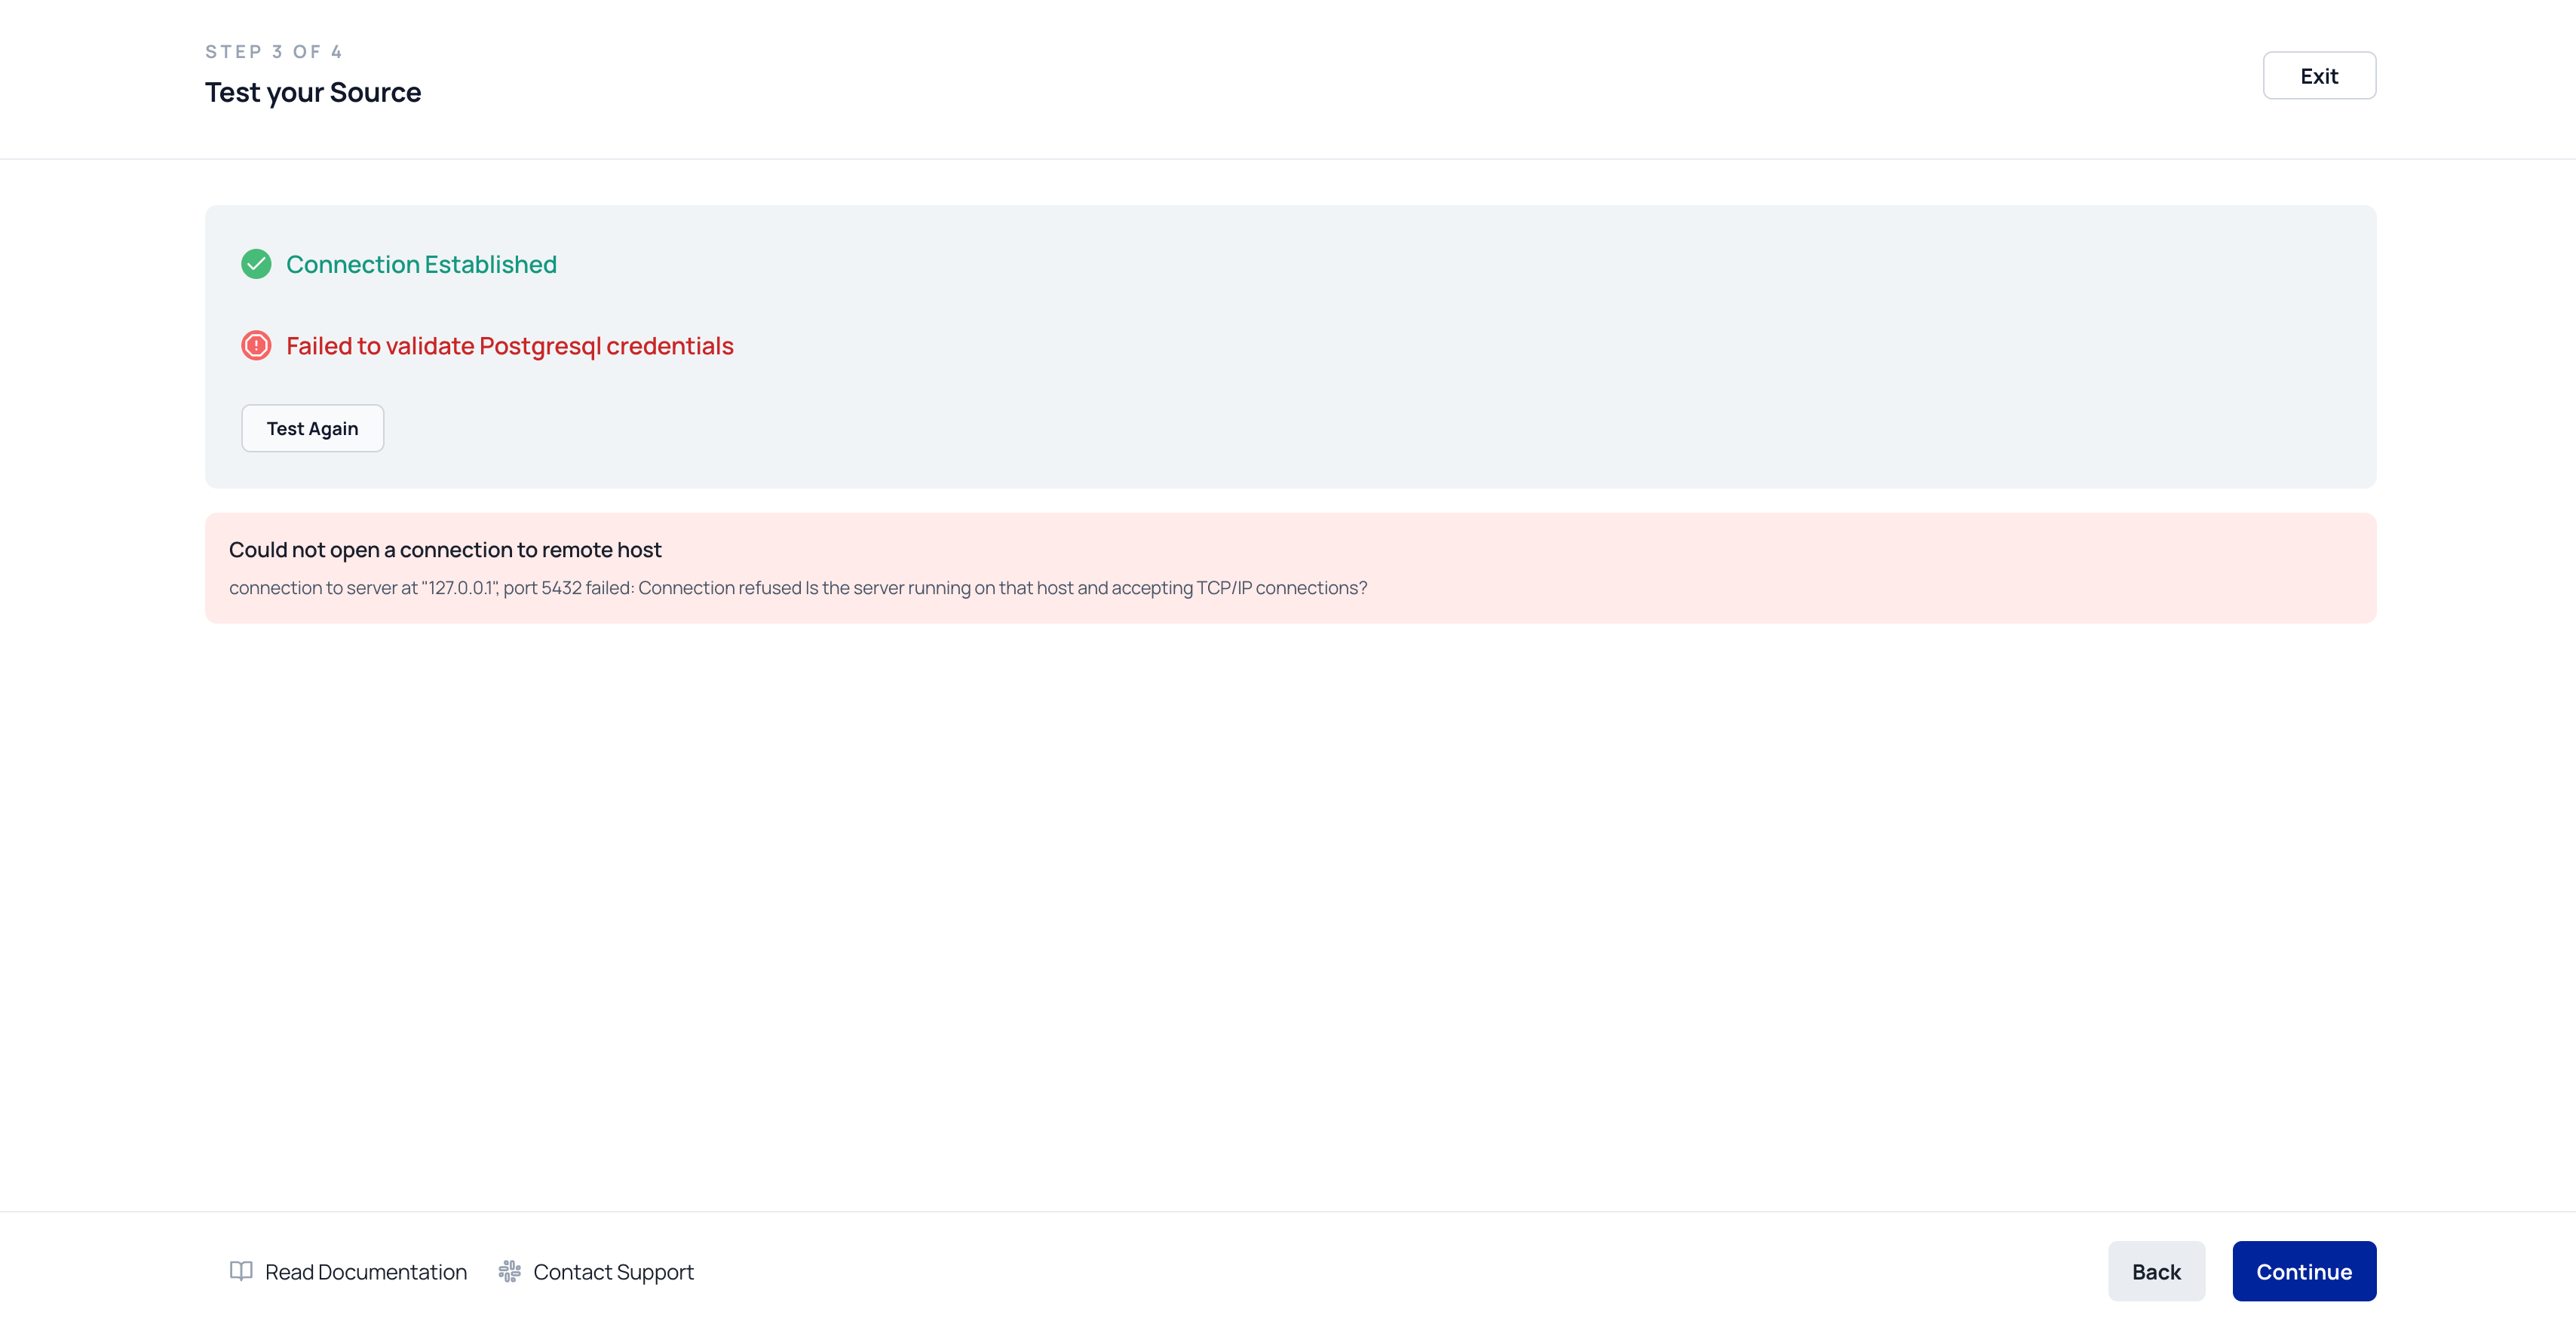
Step 3: Test the Connection
Click “Test Connection” to validate that your source credentials are correct and the system can access the data.⚠️ Common issues include invalid credentials, incorrect hostnames, or firewall rules blocking access.
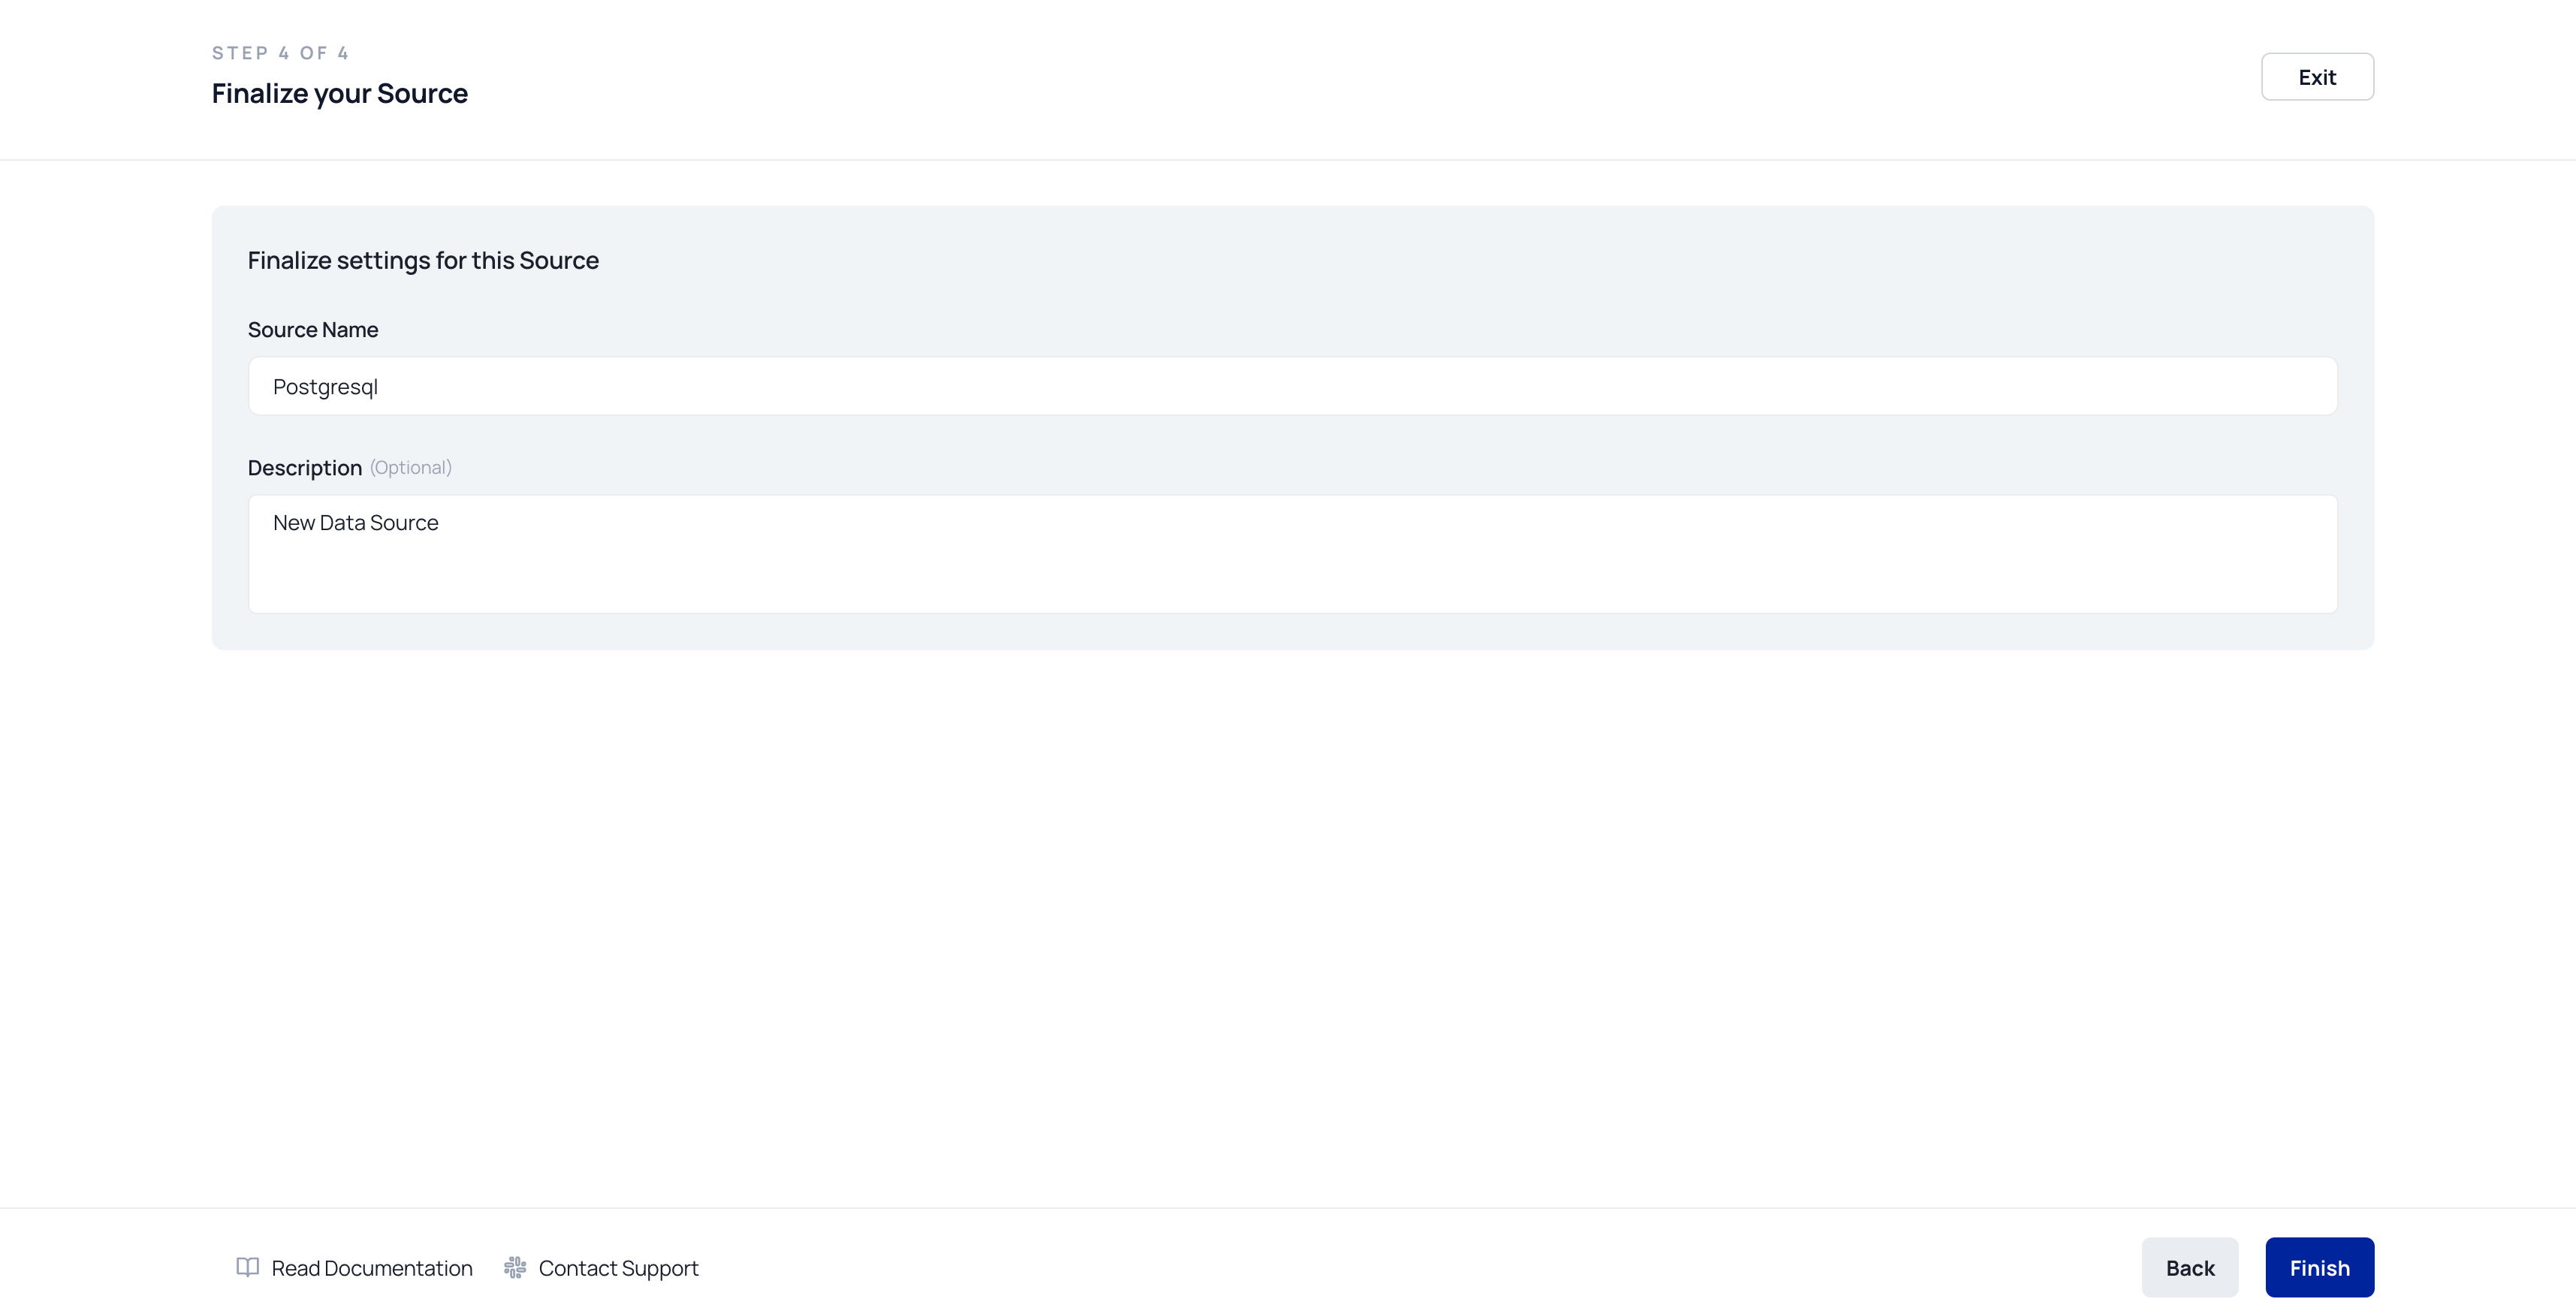
Step 4: Save the Source
After successful testing:- Click Finish to finalize the connection.
- The source will now appear under Data Sources in your account.
Step 5: Next Steps — Use the Source
Once added, your data source can be used to:- Create Data Models (via SQL editor, dbt, or table selector)
- Build Syncs to move transformed data into downstream destinations
- Enable AI apps to reference live or transformed business data
📘 Refer to the Data Modeling section to begin querying your connected source.